How to set up, grip, clean and inspect a yoga mat for outdoor use on grass, sand, decking or concrete, and judge whether your mat fits.
A yoga mat can work outdoors when you control four things: the ground beneath it, the moisture on its surface, the heat and sun around it, and the way it travels home. Grass, sand, decking and concrete each load the mat differently from a studio floor, so preparation and aftercare matter more than cushioning alone. This guide follows one session from packing to storage and pairs each risk with a control.
Outdoor ground loads a mat in ways a studio floor does not
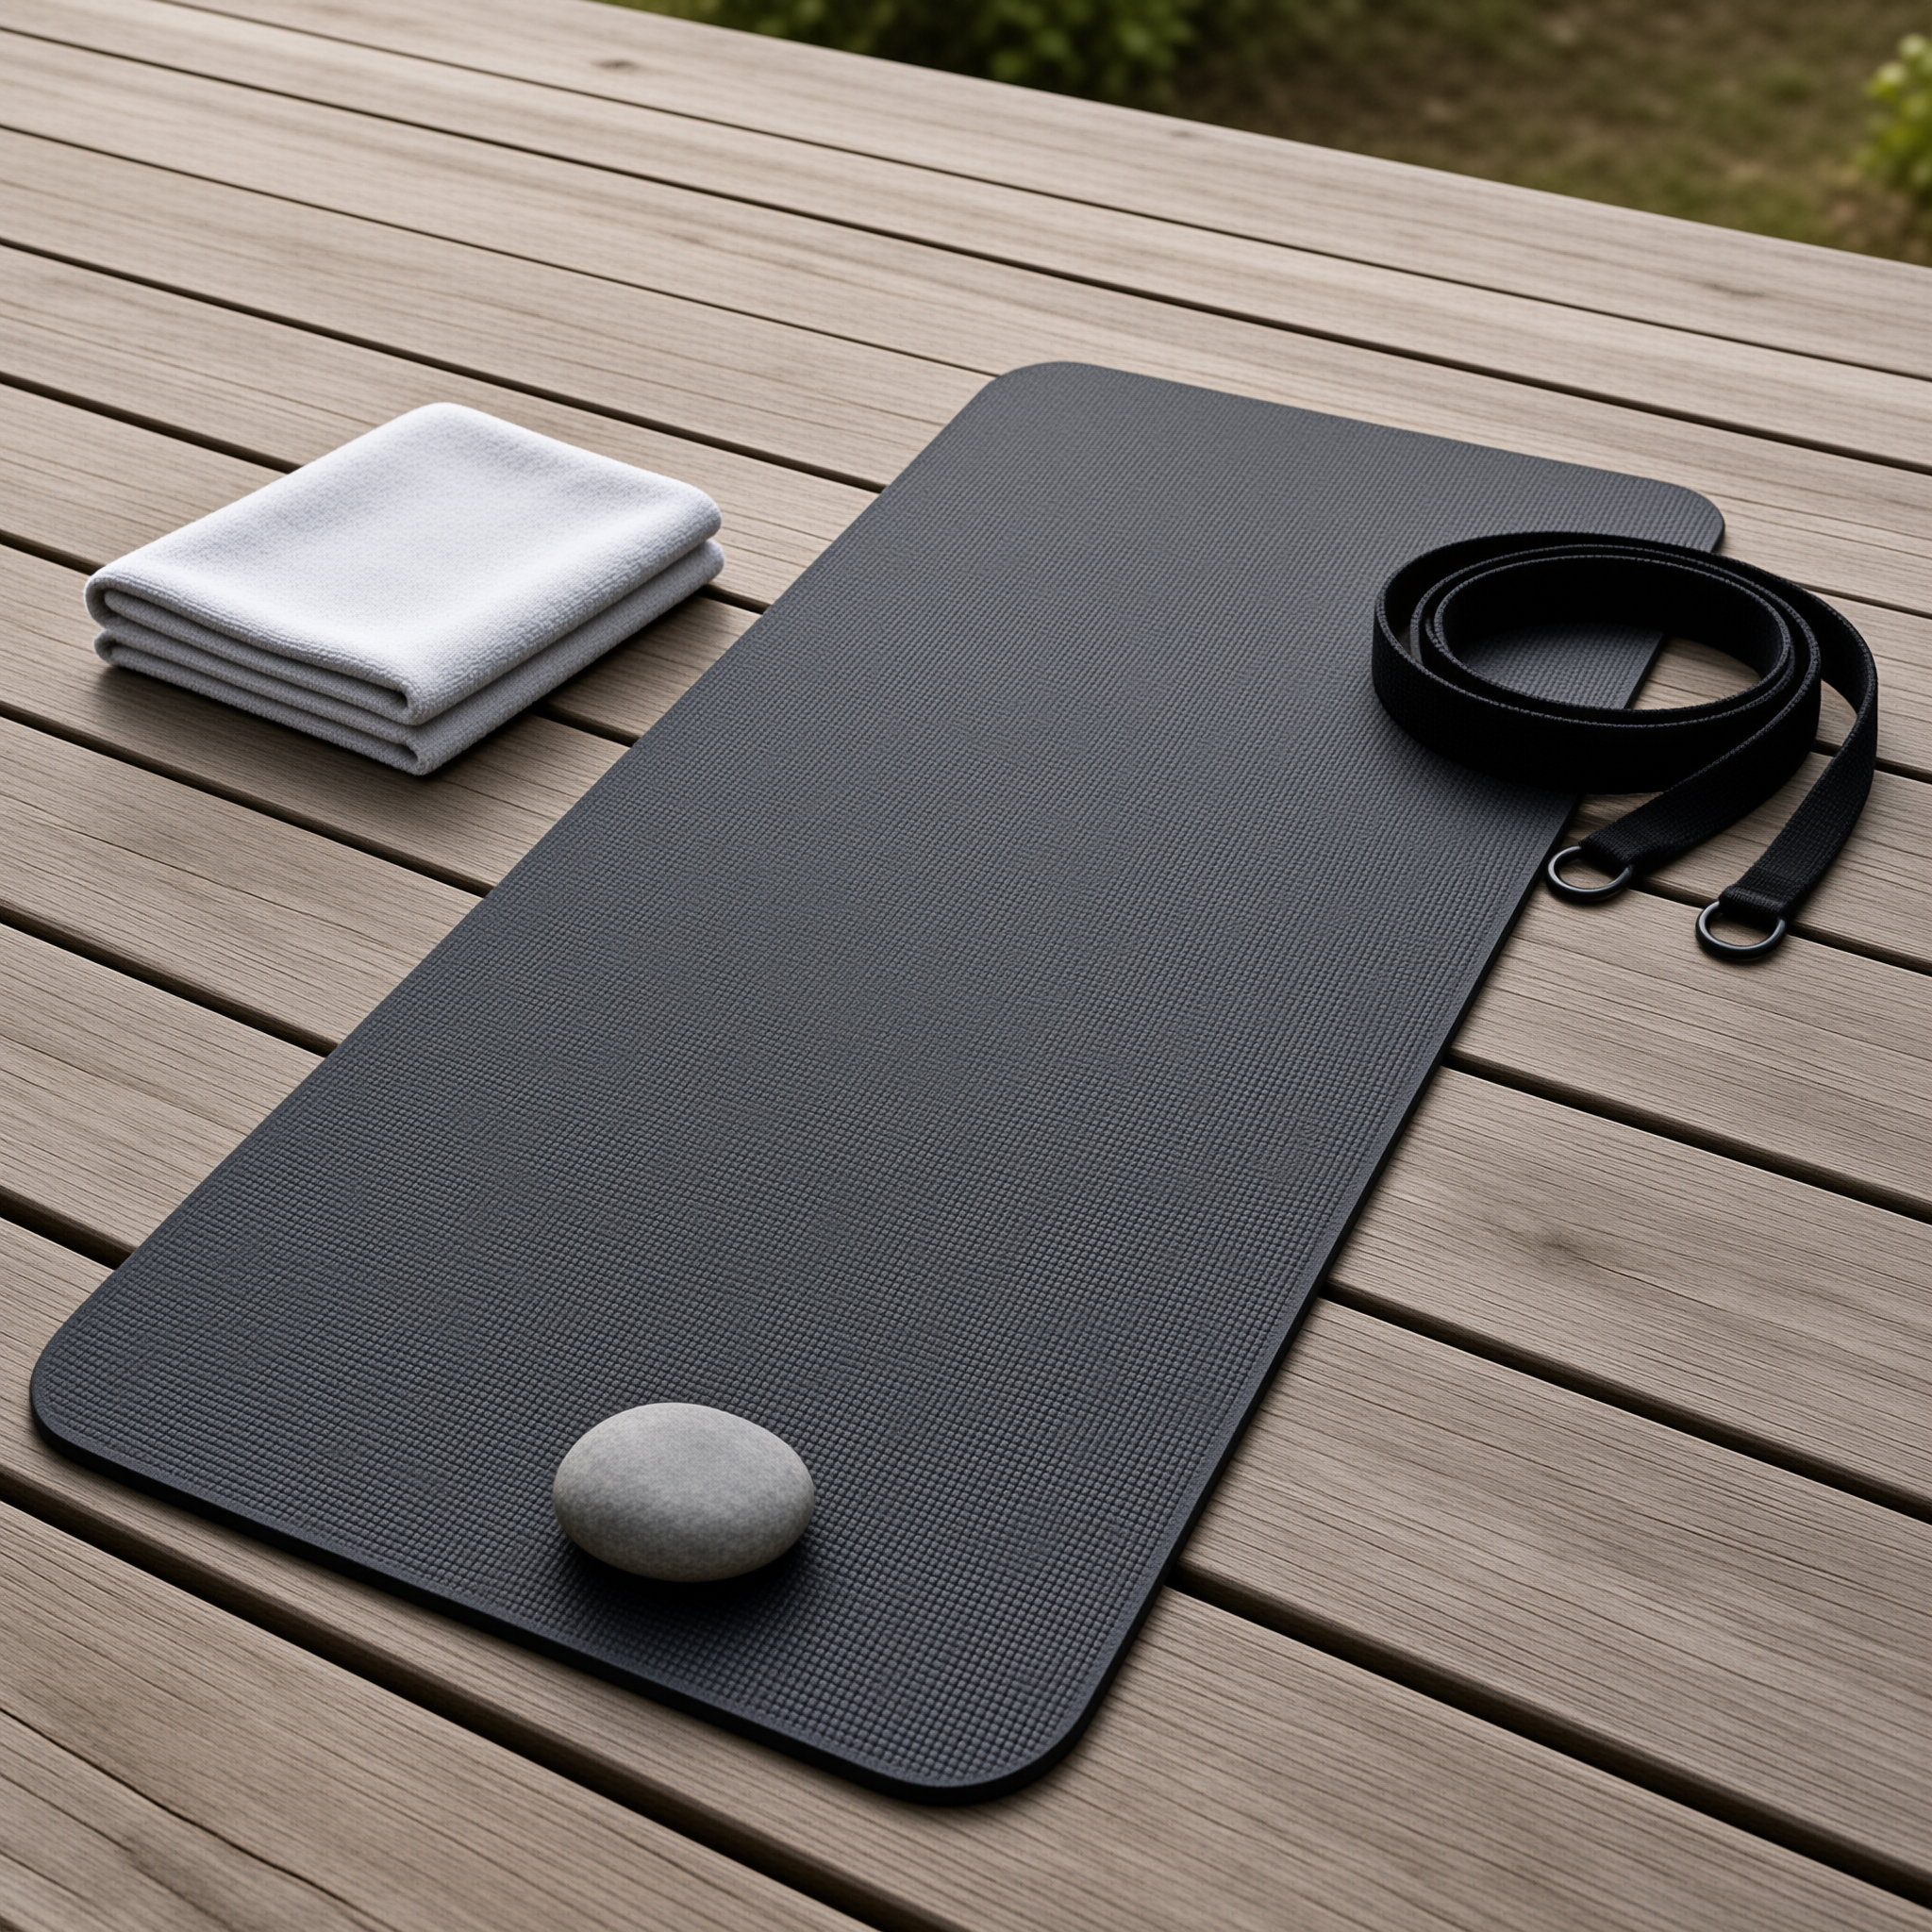
Concrete and decking are the abrasive cases. Grit trapped under the mat acts like sandpaper against the base layer, and board gaps or paving joints create point loads that press foam flat in narrow lines. Left long enough, those lines can become permanent compression marks. In practice, wear shows at the edges first, because dragging a mat into position puts the highest load there.
Soft ground brings the opposite problem. Grass, packed sand and forest floor hide roots, stones and hard clumps that push up from below. A thin mat passes those bumps to knees and wrists, while a thick one can rock on a high point and settle unevenly. On a slope, one side of the mat may hover and curl, and that curl becomes a trip edge under a standing pose.
Whether you need a mat at all on soft ground is a separate question, and it changes how much construction detail matters. If you are weighing bare sand or grass against a mat, the comparison of practice surfaces with and without a mat sets out the trade-offs first.
Before you leave, match thickness and condition to the site and the walk in
Thickness is a transport decision as much as a comfort one. Packability and stability pull in opposite directions, so the right choice follows the dominant risk you expect: cushioning against rough ground, or stability and packability on a long walk in. Density changes how that thickness behaves under load, which is why two mats of the same thickness can feel completely different under a knee. The guide to mat density and how it changes support explains the difference before you commit to a yoga mat for outdoor use.
Condition checks take about a minute and tell you more than the label. Unroll the mat, watch the edges, and press a thumbnail lightly into the surface to see whether it recovers. A quick pre-departure list covers most of it:
Edges lie flat within a minute of unrolling.
No cracks, tears or lifting layers along the folds.
The top face still grabs a dry palm without sliding.
Straps and bag are clean and dry inside.
A thin barrier or old towel is packed for rough ground.
At the site, settle the ground contact before the first pose
Setup is where most outdoor problems are prevented. Sweep or brush the area, lift loose stones, and check for glass, thorns, sprinkler heads and pet waste. Unroll the mat and let it relax, then orient it so you are not kneeling into a slope. On decking, lay the mat along the boards rather than across them so knees do not settle into the gaps.
| Surface | Main risk | Practical control |
|---|---|---|
| Concrete or paving | Grit abrasion and joint point loads | Sweep first, add a thin barrier underneath |
| Wooden decking | Board gaps, splinters, stored heat | Align along boards, test warmth with a palm |
| Packed sand | Loose grains and an uneven bed | Firm the surface, shake out before rolling |
| Grass with roots | Hidden bumps and damp ground | Clear debris, pick a flat patch, use more thickness |
| Gravel or hard dirt | Point loading and slipping | Barrier layer, avoid for standing balances |
| Rooftop or balcony | Wind lift and hot surfaces | Weight two corners, choose shade, avoid midday |
| Wind is the setup risk people forget. A corner lifting during a standing sequence can throw balance, so weight the two upwind corners with a bag, bottle or shoe before you start. Heat belongs in the same check: a dark mat on a sunlit deck can become uncomfortable within minutes, and moving it into shade beforehand is far easier than moving it mid-flow. |
Moisture is where yoga mat grip outdoors is won or lost
Dew, sweat, humidity and damp ground all reduce friction at the contact points. Morning grass soaks a mat from below within minutes, and a thin mat passes that damp straight to knees and hands. The top face turns slick as sweat builds, especially on closed-cell surfaces that do not absorb it. Mat grip depends on friction, texture and dryness together, as the explanation of how grip and cushioning work in a mat sets out.
Dew under the mat and sweat on a closed-cell surface cause the same failure: the contact patch stops gripping.
Controls are simple and worth repeating every session. Keep a small towel for hands, feet and the mat face, and dry the contact points before each balance. Reposition the mat when it slides rather than forcing the pose, and widen your stance if you feel a slow drift. If sliding continues after both, the surface underneath is usually the cause.
Sun and heat age a mat faster than practice does
Ultraviolet light and heat both attack the materials in a yoga mat. A mat left in direct sun for hours can fade, stiffen and lose the surface texture that provides grip. Hot decking and asphalt are worse, because heat reaches the mat from below as well as above. Storing a damp mat in a hot car combines heat, moisture and pressure, which is the least forgiving mix for foam. The controls cost nothing. Practice in shade or early, move the mat out of the sun between sessions, and let it cool before rolling. Keep the home storage spot ventilated and away from direct sun. For a mat used outdoors weekly, these habits often extend useful life more than any cleaning product does.
After practice, clean both faces and dry them before the bag
Yoga mat care outdoors begins with what you cannot see. Sand, grit and dust work into the surface and then abrade it inside the bag. Shake the mat out away from your kit, wipe both faces with a damp cloth, and spot-clean sap or sticky residue with a little mild soap and water. Rinse the cloth rather than flooding the mat, and skip harsh solvents that can dull the top layer.
Drying matters as much as cleaning. Wipe the mat dry, drape it over a rail with both faces exposed, and let it air until it feels dry to the touch. Rolling a damp mat traps moisture in the foam and encourages odor. In humid weather, dry it in shade with airflow rather than in direct sun.
Inspect the mat while it is flat, before it goes into storage. Signs that it is nearing retirement include:
Layers separating or bubbling along the edges.
Permanent dents where knees and hands land.
Edges that stay curled after a minute flat.
A smell that returns soon after cleaning.
A surface that stays slick even when clean and dry.
Does your current yoga mat suit frequent outdoor use?
Judge it by the risk you cannot control. If abrasion is the main problem, a denser closed-cell mat or a cheap barrier under your existing mat is often the cheaper answer. If moisture and sweat are the issue, an open-cell or cork top face can help, at the cost of more careful drying. If packability dominates, a thinner mat plus a barrier is usually more practical than a thick one.
Material behavior outdoors broadly follows the same pattern. Closed-cell TPE and PVC resist water uptake and wipe clean easily, but can turn slick with sweat. Open-cell natural rubber offers strong dry grip and absorbs moisture, so it needs thorough drying. Cork handles damp hands well and dries quickly at the surface, yet it abrades on rough concrete. Thick foam suits roots and cold stone, and carries the bulk and stability penalties that come with it. No construction wins on every count, and an outdoor yoga mat chosen for a rooftop deck may be a poor fit for a sandy beach walk. That trade-off, rather than brand or price, is what should drive the decision for frequent outdoor sessions.
Fix the risk you meet most often, then accept its trade-off
Practical outdoor use comes down to controlling ground contact, moisture, heat and transport, session after session. If your current yoga mat fails on abrasion or moisture rather than cushioning, replacing it with the same construction usually produces the same result. The next step is to compare constructions directly in the yoga mat materials guide, which sets out how each type behaves in wet, hot and abrasive conditions.